Hey there! If you’re new to Apple Pay or just need a refresher on how to verify your card on your iPhone, you’re in the right place. Apple Pay makes transactions easier and more secure, but getting your card set up can sometimes be a bit tricky. Don’t worry—this guide will walk you through the process step-by-step and help you troubleshoot any issues that might come up. Let’s dive in!
What is Apple Pay?
First things first—what exactly is Apple Pay? Simply put, it’s a digital wallet and mobile payment system that lets you make payments using your iPhone, Apple Watch, iPad, or Mac. Whether you’re buying a coffee at your favorite café or shopping online, Apple Pay allows you to complete transactions quickly and securely without having to pull out your credit or debit card. Pretty neat, right?
Why Verify Your Card?
You might be wondering why you need to verify your card. Great question! Verifying your card is crucial because it ensures that your payment method is correctly linked to your Apple Pay account. It also adds an extra layer of security, helping to prevent any unauthorized transactions. Plus, it confirms that your bank or card issuer supports Apple Pay, so you can use it without any hiccups.
Step-by-Step Guide to Verify Your Card for Apple Pay
Ready to get started? Let’s walk through the steps to verify your card for Apple Pay on your iPhone. Don’t worry—it’s easier than you might think!
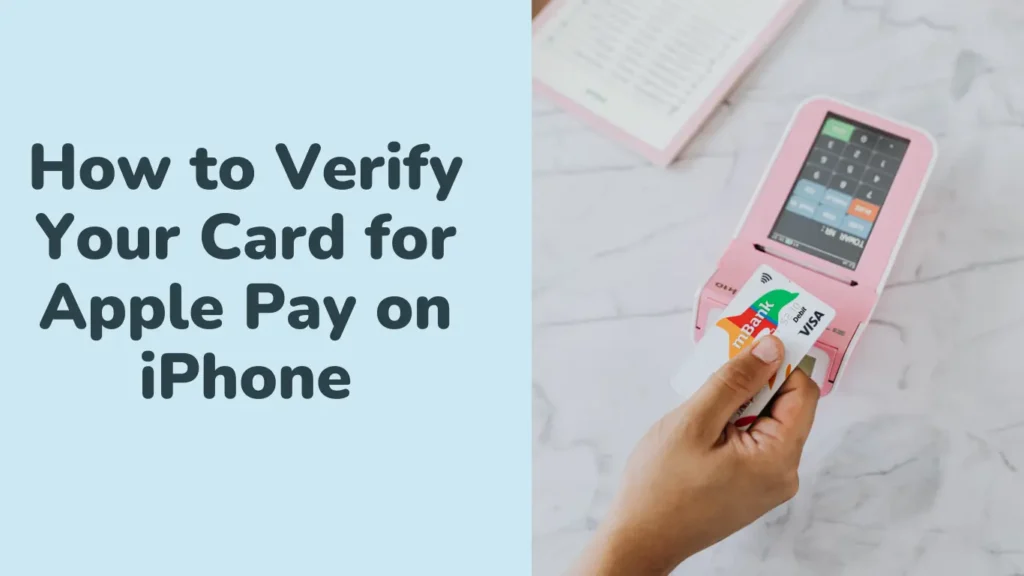
1. Open the Wallet App
Start by opening the Wallet app on your iPhone. This is where all your payment cards and passes will be stored. If you haven’t used it before, you might notice it’s a handy hub for managing your cards and tickets.
2. Add a New Card
- Tap the “+” Icon: You’ll see a “+” icon in the upper-right corner of the Wallet app. Tap on it to add a new card.
- Select “Add Credit or Debit Card”: If you’re adding a card for the first time, choose this option. It will start the setup process for your new payment method.
3. Enter Your Card Information
Now it’s time to input your card details. You’ve got a couple of options here:
- Use the Camera: Your iPhone’s camera can automatically capture your card details. Just align your card within the on-screen frame, and your phone will fill in the information for you. It’s super quick and easy!
- Manual Entry: Prefer to do it the old-fashioned way? Tap “Enter Card Details Manually” and type in your card number, expiration date, and CVV code. Double-check for accuracy to avoid any issues later on.
4. Verify Your Card
Here’s where the magic happens:
- Follow Verification Instructions: After you’ve entered your card details, your bank or card issuer will need to verify your card. This usually involves receiving a verification code via text message, email, or phone call.
- Input the Code: Once you get the verification code, enter it into your iPhone as instructed. This step confirms that your card is valid and that it’s linked to your Apple Pay account.
5. Complete the Setup
- Agree to Terms: You’ll need to review and agree to the terms and conditions provided by your card issuer. It’s a good idea to skim through these to understand any important details about using your card with Apple Pay.
- Confirmation: Once your card is verified and the terms are agreed upon, you’ll receive a notification letting you know that your card has been successfully added to Apple Pay. Yay!
6. Start Using Apple Pay
Now that your card is verified, you’re all set to start using Apple Pay! You can use it for purchases in stores, online, or within apps that accept Apple Pay. Just hold your iPhone near the payment terminal and authenticate using Face ID, Touch ID, or your passcode to complete the transaction. It’s that simple!
Troubleshooting Tips
Sometimes things don’t go as smoothly as planned. If you run into any issues, here are a few tips to help you out:
- Check for iOS Updates: Make sure your iPhone is running the latest version of iOS. Go to Settings > General > Software Update to see if there are any updates available.
- Verify Card Issuer Support: Not all banks or card issuers support Apple Pay. Check with your bank to ensure that your card can be used with Apple Pay.
- Contact Your Bank: If you’re still having trouble, don’t hesitate to contact your bank or card issuer. They can provide additional support and help resolve any issues.
Common Questions
1. What if my card isn’t accepted?
If your card isn’t being accepted, double-check that you’ve entered all the details correctly. Also, make sure your card issuer supports Apple Pay. Sometimes, issues can be resolved by contacting your card issuer directly.
2. Can I add multiple cards to Apple Pay?
Absolutely! You can add multiple cards to Apple Pay and choose which one you want to use for each transaction. Just follow the same steps to add additional cards.
3. Is Apple Pay secure?
Yes, Apple Pay is designed with security in mind. It uses encryption and tokenization to protect your card information. Additionally, transactions require authentication via Face ID, Touch ID, or a passcode, adding an extra layer of security.
Conclusion
Verifying your card for Apple Pay on your iPhone is a straightforward process that enhances your payment experience with added security and convenience. By following these steps, you’ll have your card set up and ready to use in no time. If you run into any issues, the troubleshooting tips should help you get back on track.

