The Juki DDL-8700-7 is a renowned industrial sewing machine known for its speed and precision. If you’ve recently acquired this machine or are considering setting one up, this Juki DDL-8700-7 setup guide will provide you with all the information you need to get started. This guide covers everything from unboxing and assembly to threading and maintenance, ensuring you can maximize the performance of your Juki DDL-8700-7.
1. Unboxing Your Juki DDL-8700-7: What to Look For
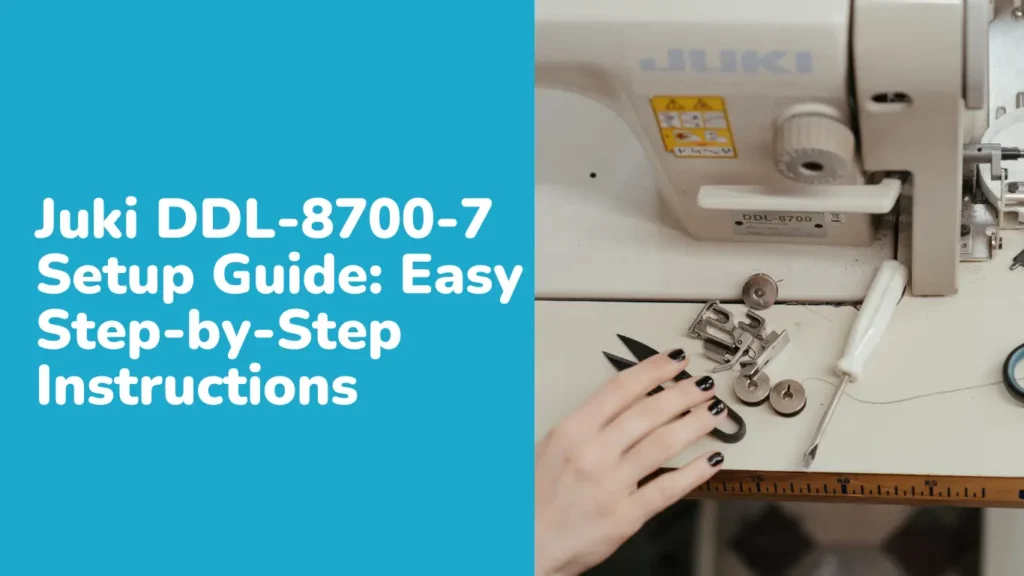
When you first receive your Juki DDL-8700-7, carefully unbox it and verify that all components are included:
- Sewing Machine Head
- Machine Stand and Base
- Sewing Machine Motor
- Belt and Pulley System
- Accessories (presser feet, needles, bobbins)
- User Manual
Inspect each component for any damage that may have occurred during shipping. If anything seems damaged, contact your supplier immediately. Proper unboxing is the first step in ensuring a smooth setup of your Juki DDL-8700-7.
2. Assembling the Juki DDL-8700-7 Stand
1. Position the Stand:
- Place the machine stand on a stable, level surface. Ensure that it is firmly in place to prevent any movement during operation.
2. Attach the Machine Head:
- Carefully place the sewing machine head onto the stand. Align it with the mounting holes and secure it using the provided bolts. Make sure the machine head is level and firmly attached.
3. Install the Motor:
- Attach the motor to the stand using the motor bracket. Securely fasten the motor in place according to the instructions provided in your Juki DDL-8700-7 setup guide.
4. Set Up the Belt and Pulley System:
- Connect the belt to the motor and machine pulleys. Adjust the tension to ensure the belt is neither too tight nor too loose. Proper tension is essential for smooth operation.
3. Threading Your Juki DDL-8700-7
1. Installing the Needle:
- Insert the needle into the needle bar, ensuring it is oriented correctly. Secure it tightly to avoid any stitching issues.
2. Threading the Upper Thread:
- Follow the threading path detailed in your Juki DDL-8700-7 setup guide. Typically, this involves passing the thread through the thread guide, tension discs, and then through the needle’s eye.
3. Preparing the Bobbin:
- Wind the bobbin with thread and place it into the bobbin case. Insert the bobbin case into the machine, ensuring it is correctly positioned.
4. Drawing Up the Bobbin Thread:
- Hold the upper thread and rotate the handwheel towards you. This will lower and then raise the needle, catching the bobbin thread and bringing it up through the needle plate.
4. Setup the Juki DDL-8700-7
1. Setting Thread Tension:
- Adjust the upper thread tension using the tension dial. Proper tension is crucial for balanced stitches. Refer to your Juki DDL-8700-7 setup guide for recommended settings based on fabric type and thread.
2. Presser Foot Pressure:
- Adjust the presser foot pressure to match the thickness of the fabric you’re working with. This ensures smooth feeding and consistent stitching.
3. Needle Positioning:
- For machines with automatic needle positioning, ensure it is set correctly. This feature assists in precise stitching.
4. Stitch Length Adjustment:
- Set the stitch length according to your sewing needs. The Juki DDL-8700-7 allows for a range of stitch lengths suitable for different fabrics.
5. Testing Your Juki DDL-8700-7
1. Conduct Test Stitching:
- Before starting your actual project, test the machine on a scrap piece of fabric. This helps you check stitch quality and adjust settings as needed.
2. Fine-Tuning Adjustments:
- Based on your test stitching results, make any necessary adjustments to tension, stitch length, or presser foot pressure. Continue testing until you achieve the desired stitch quality.
3. Regular Maintenance Checks:
- Periodically check the machine for signs of wear or issues. Ensure all screws and bolts are tight and the machine is functioning properly.
6. Safety Precautions for Using the Juki DDL-8700-7
1. Read the Manual:
- Always refer to the Juki DDL-8700-7 setup guide and user manual for detailed instructions and safety information.
2. Electrical Safety:
- Ensure that the machine is correctly wired and grounded. Avoid using damaged cords or plugs.
3. Maintain a Clean Work Area:
- Keep your sewing area clean to prevent dust and debris from affecting the machine’s performance.
4. Follow Regular Maintenance:
- Adhere to the maintenance schedule outlined in the manual. This includes oiling the machine, cleaning the bobbin area, and checking for loose parts.
7. Troubleshooting Common Issues
1. Thread Breaking:
- Ensure correct threading and check the condition of the needle. Verify that the thread tension is properly adjusted according to the Juki DDL-8700-7 setup guide.
2. Skipped Stitches:
- Skipped stitches can occur due to a bent or dull needle. Check and replace the needle if necessary.
3. Machine Jamming:
- Clean the bobbin area and check for tangled thread. Ensure the machine is properly threaded and the bobbin is correctly installed.
8. Conclusion
Setting up the Juki DDL-8700-7 might seem daunting, but with this comprehensive setup guide, you’ll be able to assemble, adjust, and operate your machine effectively. By following these steps and performing regular maintenance, you’ll ensure optimal performance and longevity for your industrial sewing machine. For any additional help, always refer back to the Juki DDL-8700-7 setup guide or consult with technical support.
Happy sewing!

